GPU Accelerated Jupyter Notebooks
If you already have Python notebooks that would benefit from GPU compute resources - or just want to use notebooks rather than running things from the terminal, it is possible to set up a notebook environment within VSCode that runs on a Hex worker node with a few additional setup steps.
Please ensure you can connect VSCode to your Hex instance before attempting these steps.
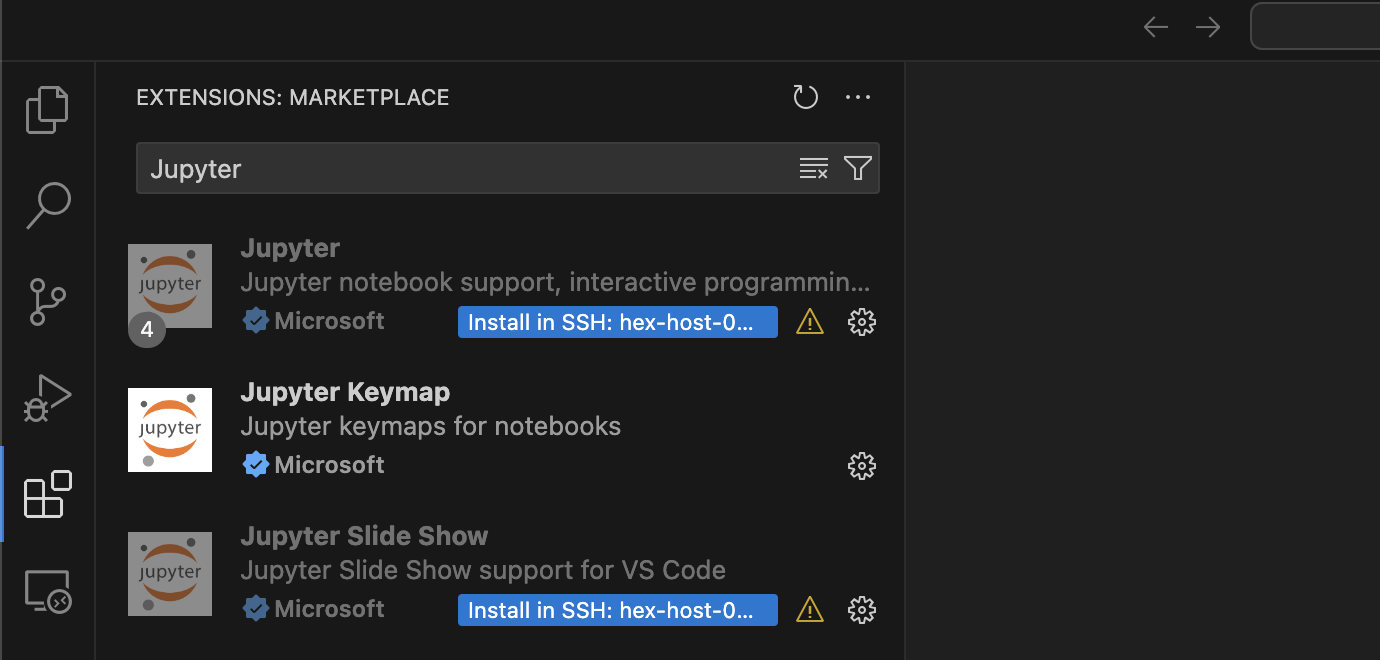
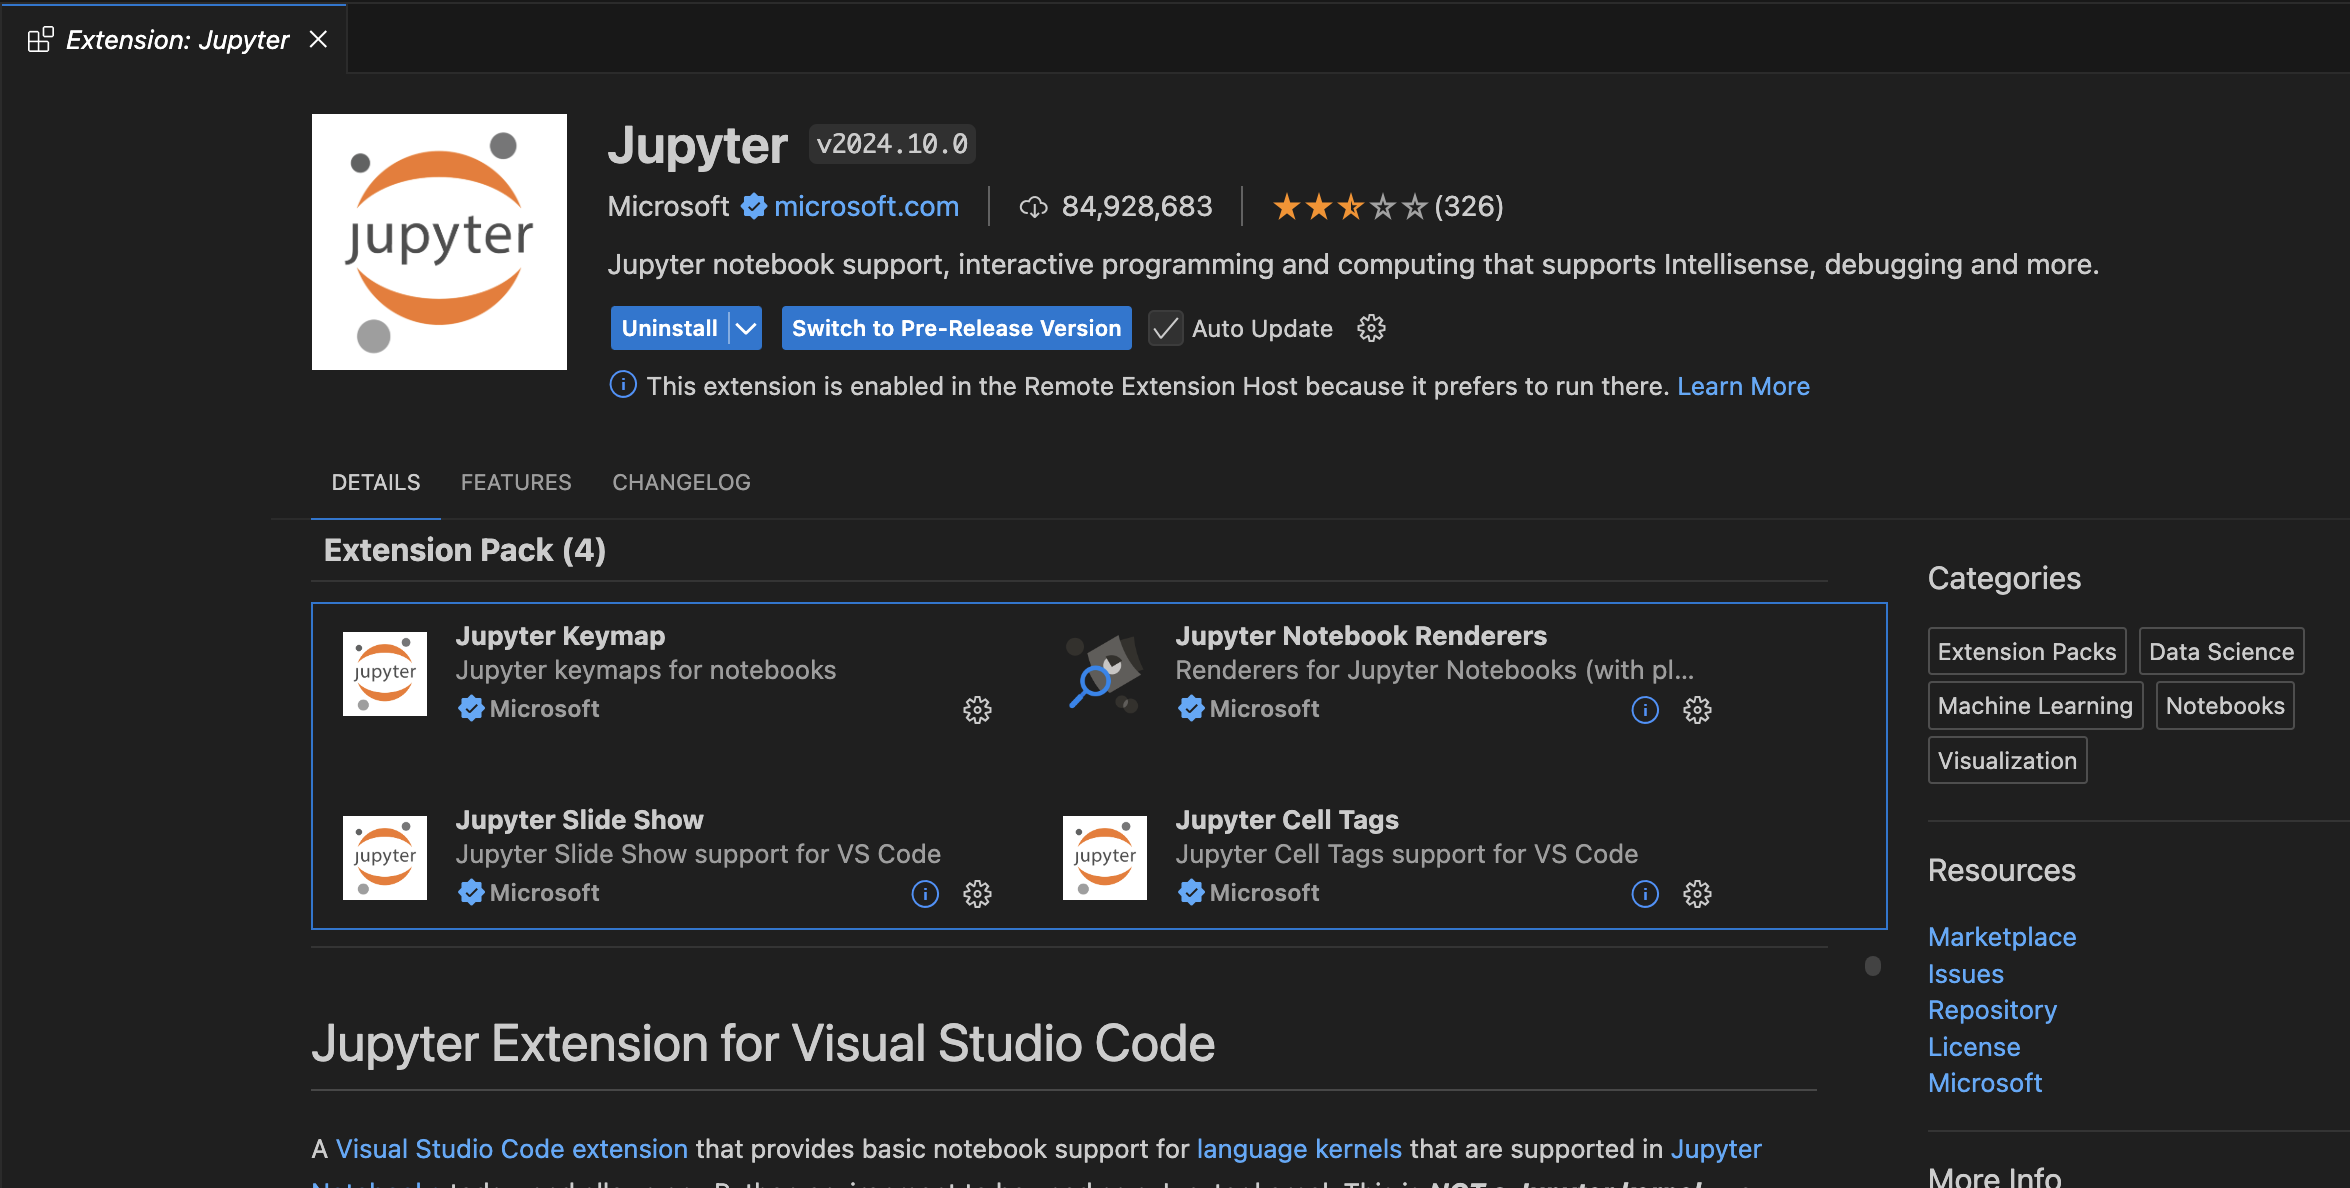
In the 'Extensions' sidebar, searching for Jupyter should bring up the Microsoft Jupyter for VSCode pack, which includes all the sub-components for basic Python (and other language!) notebooks.
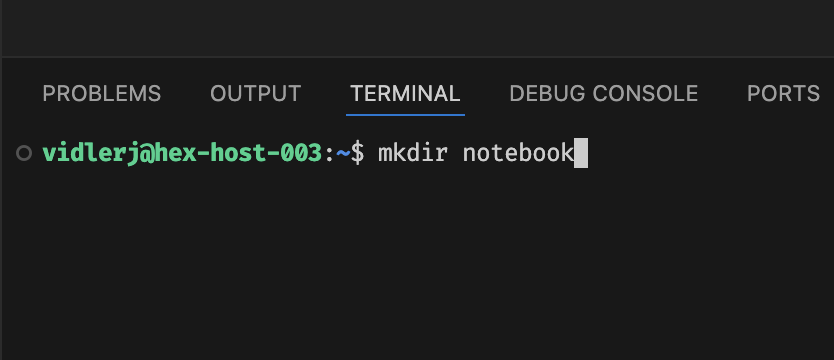
At this stage, we recommend that you create a new project directory on the Hex node, in this example I'll be simply calling it notebook, and creating it directly in my home drive by running mkdir notebook in the built-in terminal. If your VSCode instance has closed the terminal for any reason, you can always create a new one by opening the command palette and typing create terminal.
To open the command palette, press the following:
- Windows/Linux: Ctrl + Shift + P
- Mac: Shift + Command + P
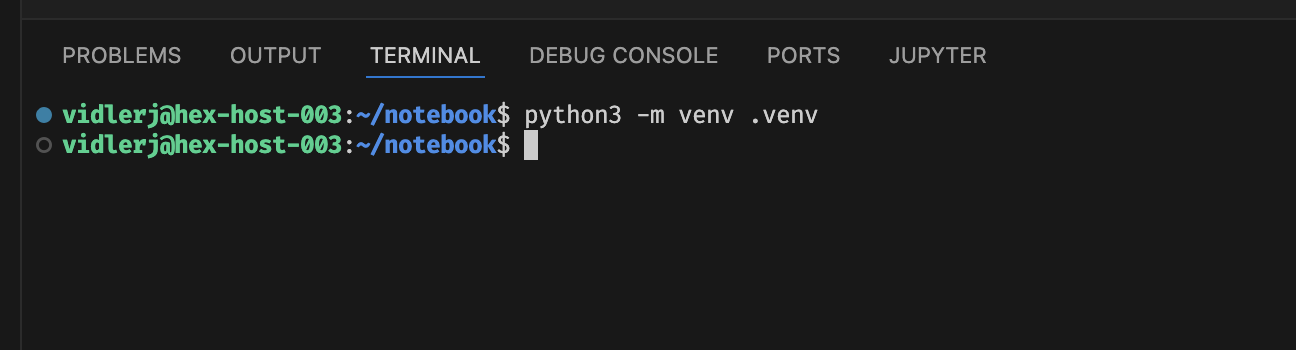
We strongly recommend creating a Python virtual environment at this stage, to keep your notebook packages and environments separate from the system-wide ones, and to prevent clashes with your other projects. To create a new virtual environment, run python3 -m venv .venv and Python should create everything for you. Note that we don't need to activate this environment like we would in normal Python use (yet).
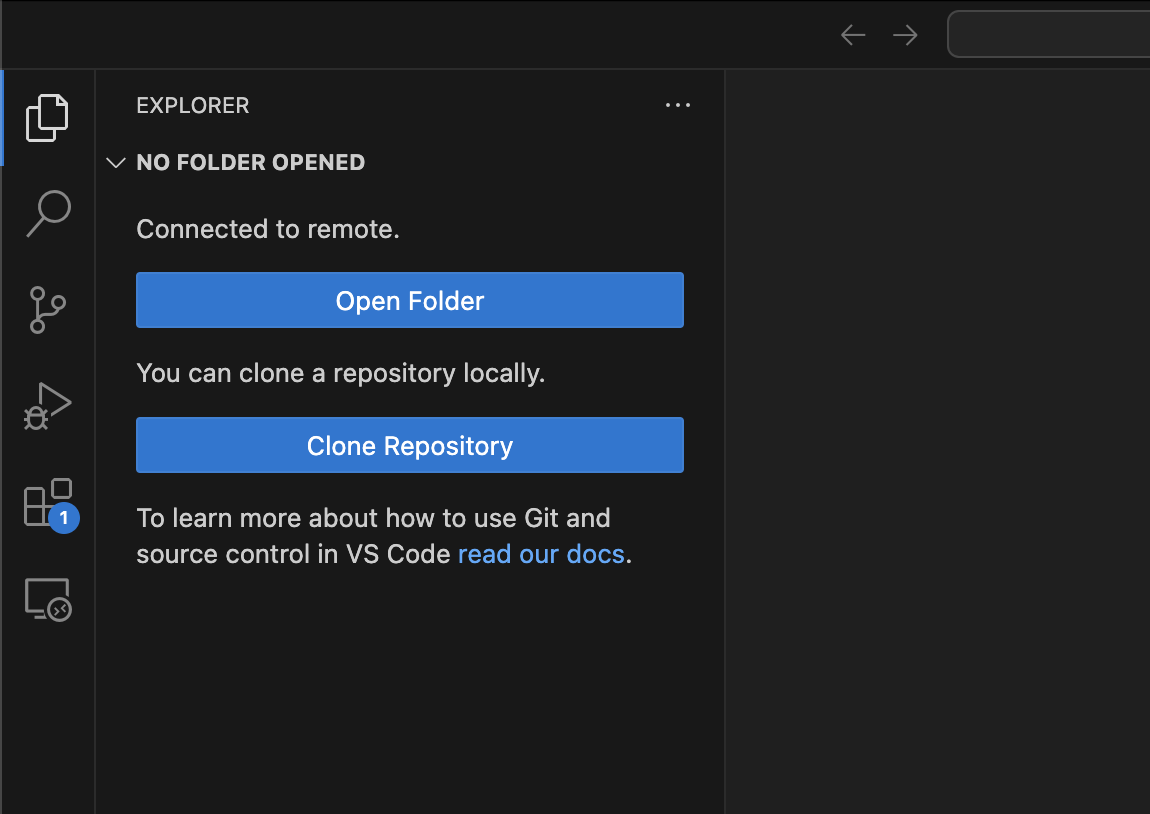
Once you have a working directory, you can open it by going back to the 'Explorer' panel on the left of VSCode, and selecting 'Open Folder', this will then prompt you to select a folder on the remote node to use:
Navigate to the new folder, and select 'Ok'. This is likely to prompt VSCode to ask if you're sure you want to trust the files in the folder; which as they should be your files, you can. We suggest you do not select the 'Trust the authors of all files in the parent folder...' toggle, as this will suppress all subsequent checks, which while a little irritating to see, are an important security layer designed to prevent accidentally opening malicious files.


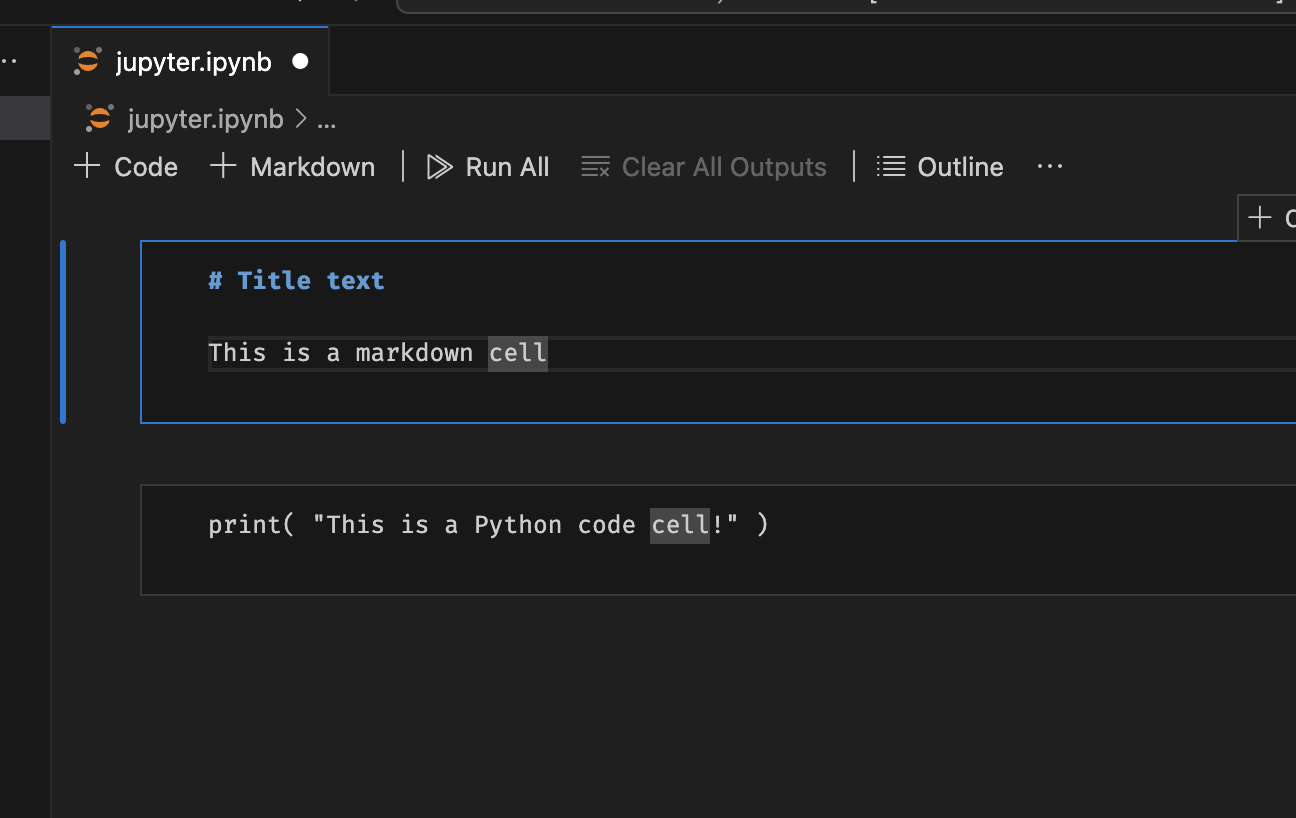
At this stage, we can actually start creating notebooks! Create a new file (Ctrl + n or Command + n) and save it with the .ipynb extension and VSCode will automatically pick up that this is a Python Notebook, and you can start creating documentation and runner cells as usual.
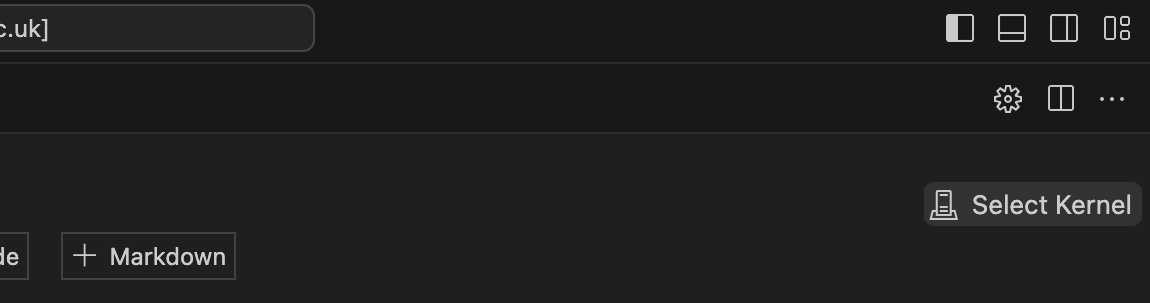
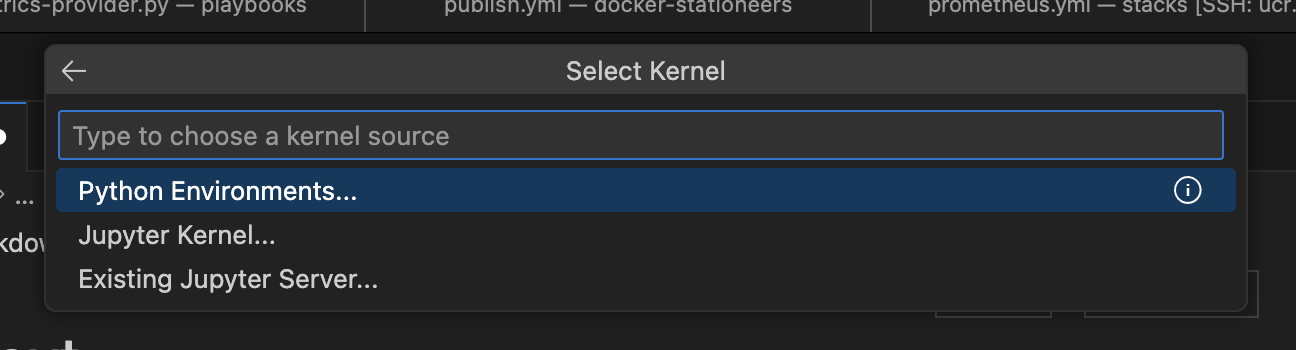
To actually run any of our code cells, we need to tell VSCode to use our virtual environment as the current kernel. To select a kernel click the 'Select Kernel' button on the top-right of the editor and choose 'Python Environments' in the dropdown. In most cases VSCode will have noticed our virtual environment folder already and should now give you the option to choose it in the list.
Depending on exactly which version of everything you're running, you may also need to install another package, which VSCode should automatically prompt for.
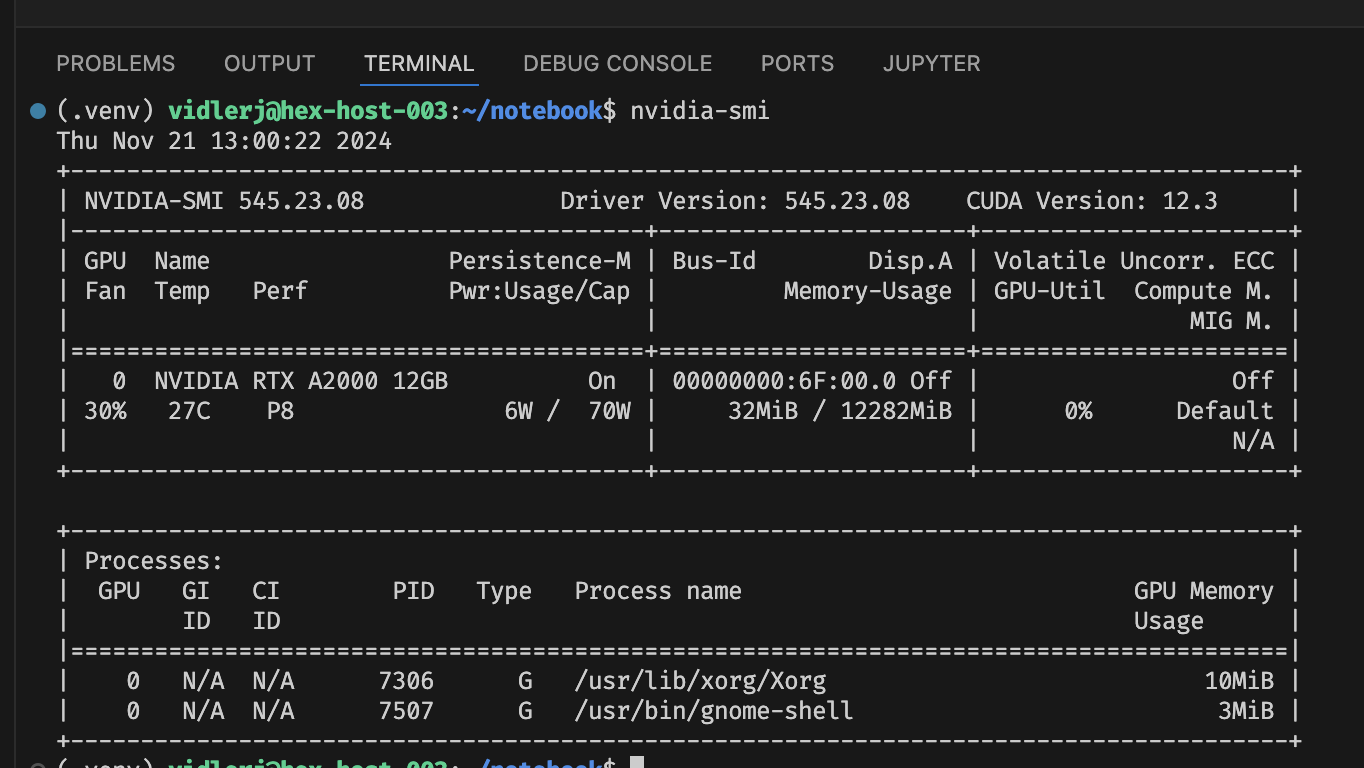
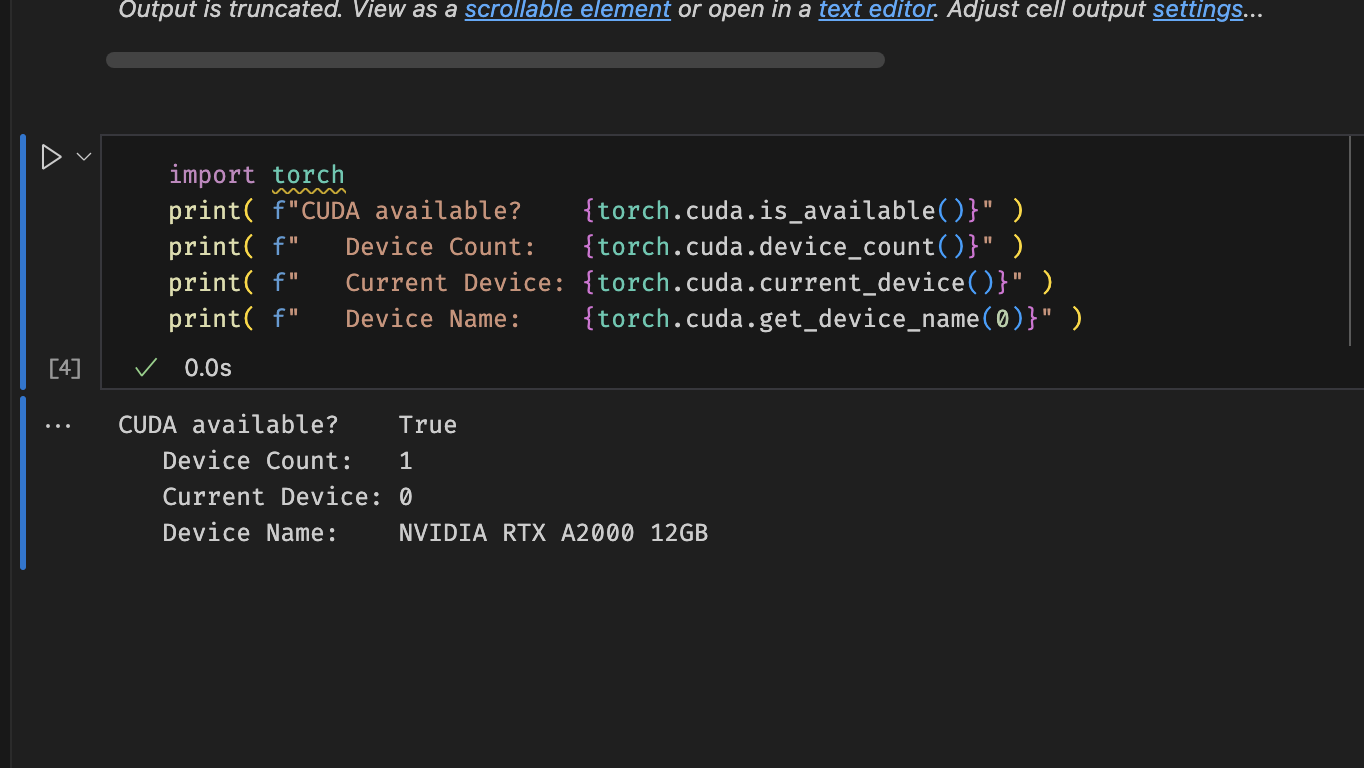
At this point, you should have a working Python environment on a GPU compute node, so by installing PyTorch and asking it if CUDA is available should report at least one device, in this case an RTX A2000.
Most of the time, installing the latest version of PyTorch and its associated libraries should work just fine, but if you encounter problems, check that the CUDA libraries are the right version for PyTorch by checking nvidia-smi: